Each Sunday afternoon the menu for the following week is decided. I find that if I don’t do this, we end up eating very poorly. If I have a plan, however, it’s easy for me to stick to it! SO – I created a menu planning page. I’d say it’s prettier than a yellow piece of notebook paper laying on the counter top!

Since our goal is to eat dinner together each night, that is the meal I focused on. Breakfast and lunch are more casual (read less planned) so I decided I didn’t need to make a row for each of those meals – but I left a little space for each at the bottom of the page. Then I thought ‘Why stop there?’ And I made a notebook of nothing but meal planning pages….because making notebooks is what I do these days 😮
I thought you might like to make yourself one too – and you’re in luck! The page is available for download here (or by clicking on that cute little widget over on the side of my blog!) You could just use the pdf but if you want to make a journal – here is how I did it.
Materials Needed:
- 1 sheet of 8.5 x 11 inch card stock
- fusible webbing (Heat-n-Bond LITE, stitchery witchery, etc. Just make sure you can sew through it)
- fabric – sized at least 5.5 inches x 8.5 inches or you can use scraps to make a patchwork cover – and if you like the look with a spine you’ll need a strip of black fabric – about 1.5 inches x 8.5 inches
- Weekly Meal Plan pdf
- paper for inside of journal – I recommend using 24 or 28 pound copy paper
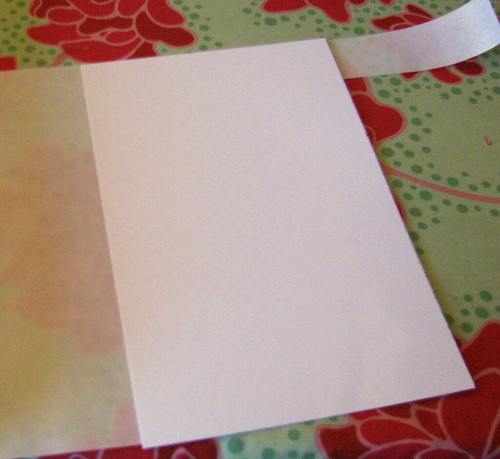
1. Cut a piece of 8.5×11 card stock in half.

2. Attach fabric to card stock. I used the same method as the CraftApple patchwork cards. Be sure you use Heat-n-Bond LITE, stitchery witchery, or other sewing friendly fusible web (not heavy duty no sew) because you’ll need to be able to sew through it. You could use one fabric or piece scraps of fabric together. That would be so cute. Stitch as desired.
3. Using Heat-n-Bond (regular or lite), attach the second half of the card stock to the back of your first piece (sewn with fabric). This will cover up the stitching.


4. Print the weekly meal plan pdf many many times (really 20 or so…26 would give you a full year) I recommend using 24 or 28 pound copy paper for this. (The traditional 20lb copy paper is just too flimsy and you don’t want something as heavy as card stock.)

5. Take to office supply/copy center. At the copy center, they will cut your menu plan papers in half and bind the whole thing for you! (I get mine done at Office Max. Right now it only costs $2.99 – and they include a plastic cover if you want and a linen back cover. I upgraded to a vinyl back for $1 more because I thought it would be better in the kitchen.)

Other ideas:
Sketch Book or Sticker Book for kids (pair with some stickers, markers, etc for a cute gift)
Journal or Recipe Keeper (I’ve already made several as gifts, for the preschool auction, etc. I like to print lines on these pages.)
PS. The pictures above are really from the book I made for my daughter…but I forgot to take pictures while making my own meal planner…and the process was the same!

I’ve become obsessed with these little books. I can’t stop making them! These are the few I’ve made just for our family – and I’ve already given several as gifts. 🙂 So much fun!!!
 This summer she released Mezzanine.
 So I need to make room for her newest collection….which means that ALL of Andalucia is now on sale. (I need to go get Haley something made with the Mod Bloom corduroy. It’s too cute and perfect for fall. Maybe I’ll do that tonight……)


